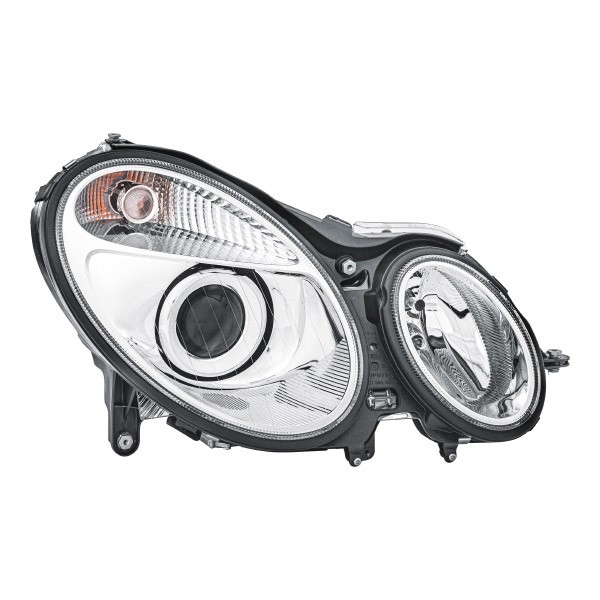
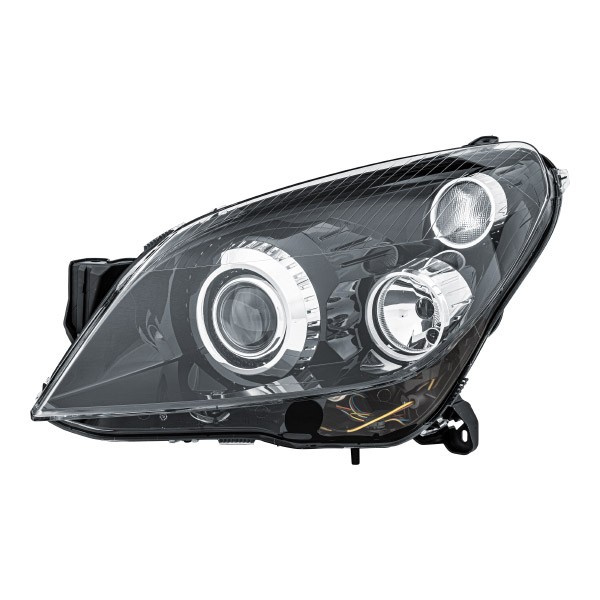
Headlights LED and Xenon for car
Order cheap Headlight LED and Xenon
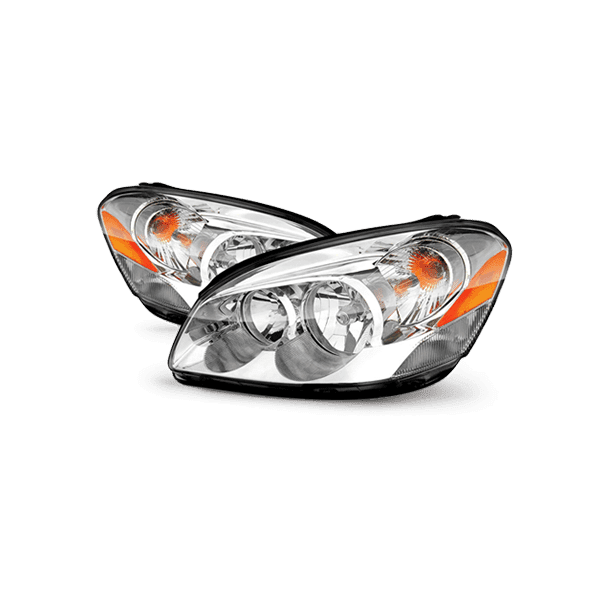
Front lights: top brands
Headlight for leading car makes
Headlight for top car models
AUTODOC Bestsellers: Front lights at a good price
The top-selling spare parts in the Headlights category. Browse our huge wide range of high-quality car parts from top brands in the category Headlights and others.
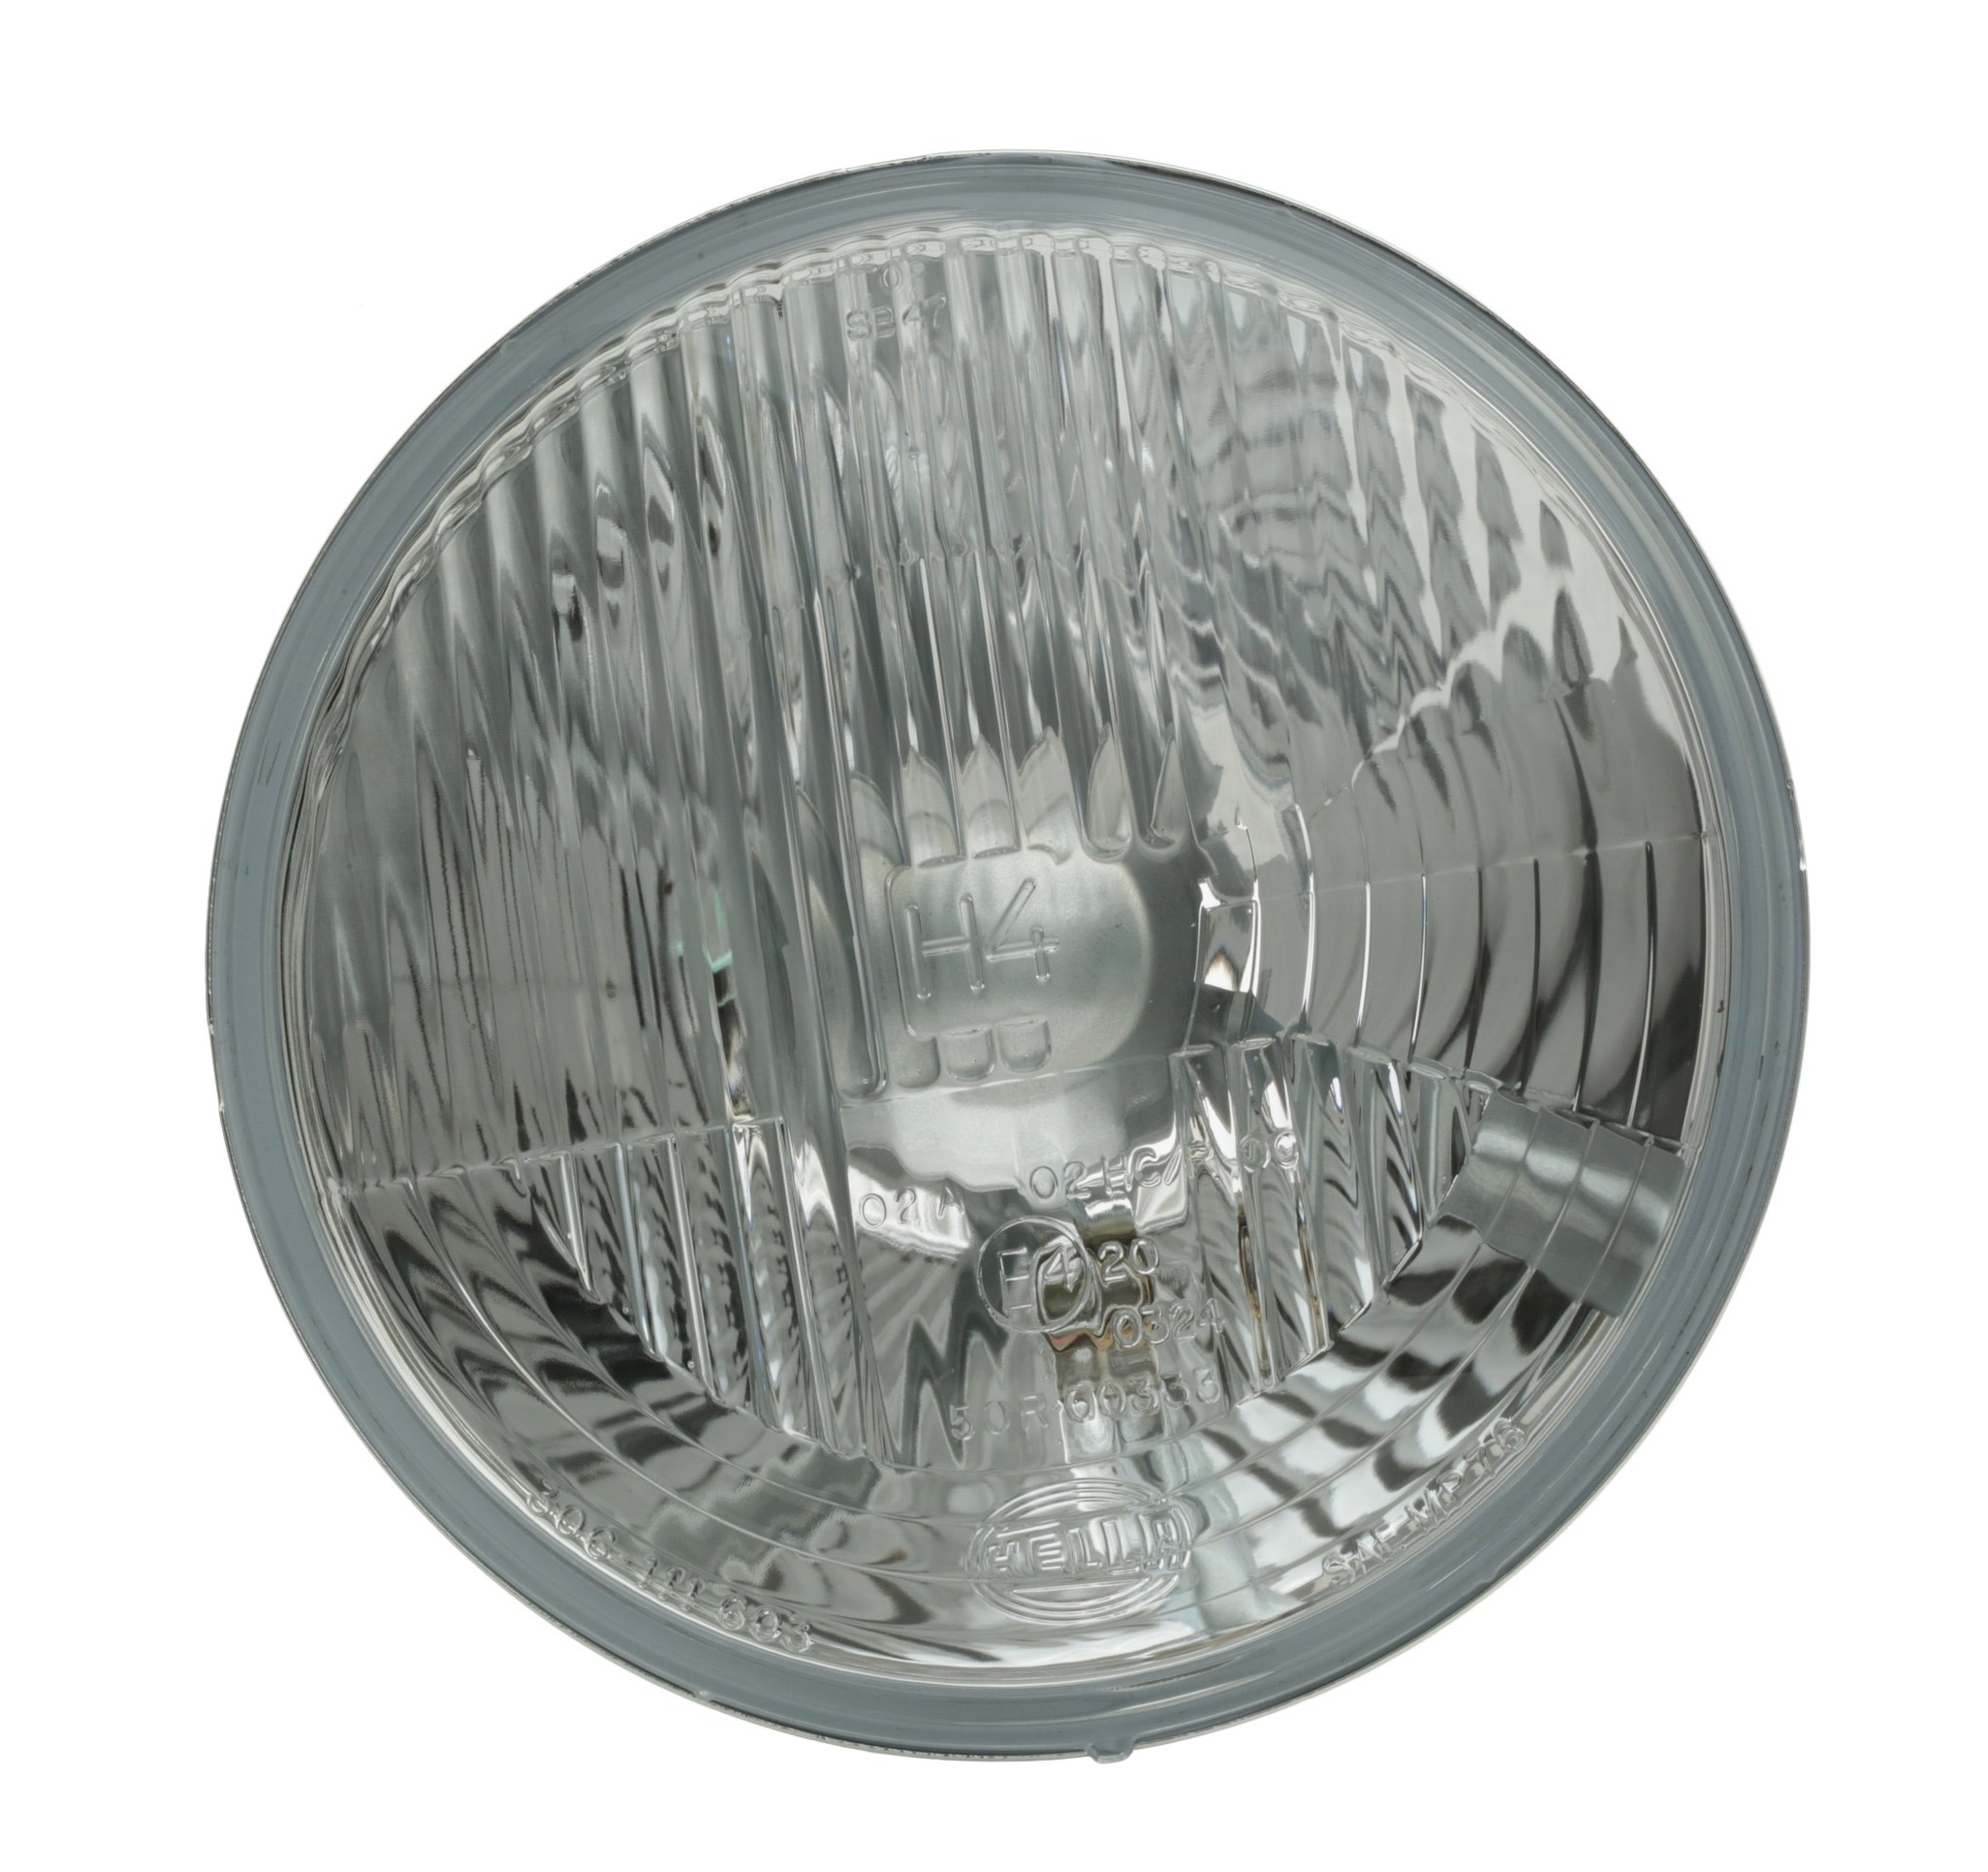 HELLA 012049 Insert, headlight
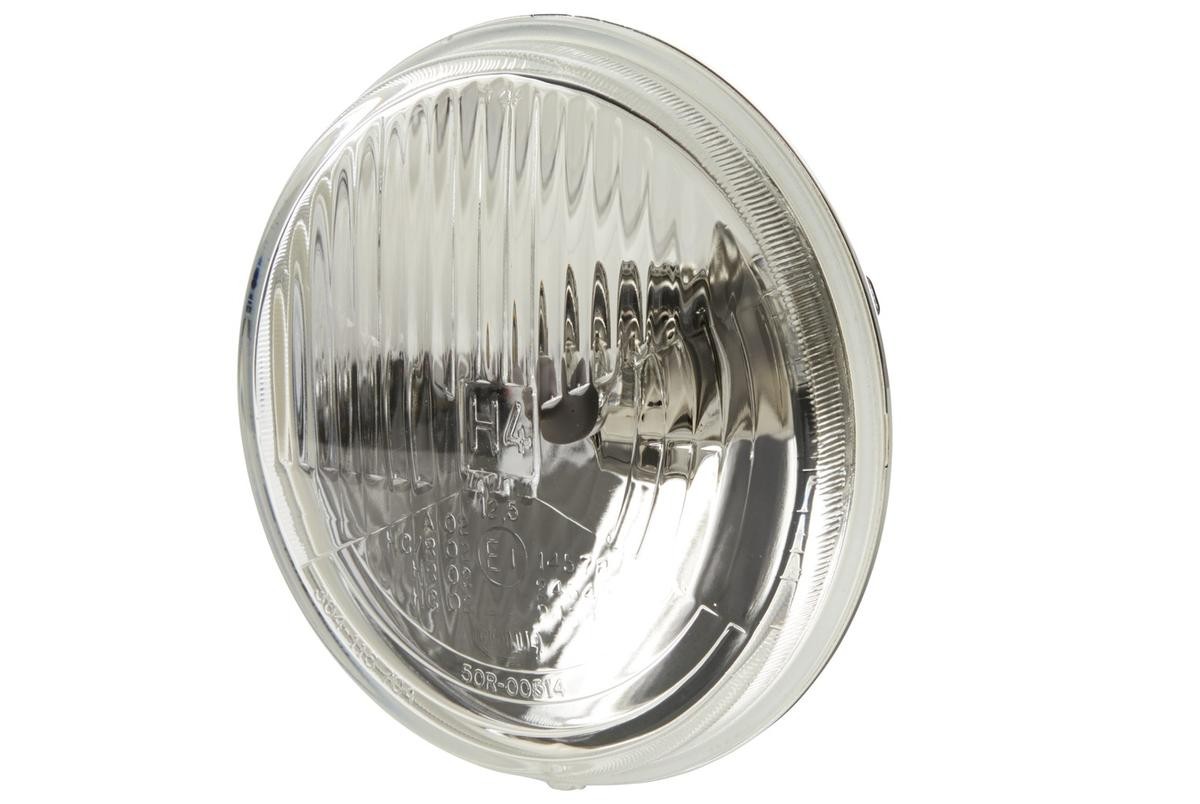 HELLA 012124 Insert, headlight
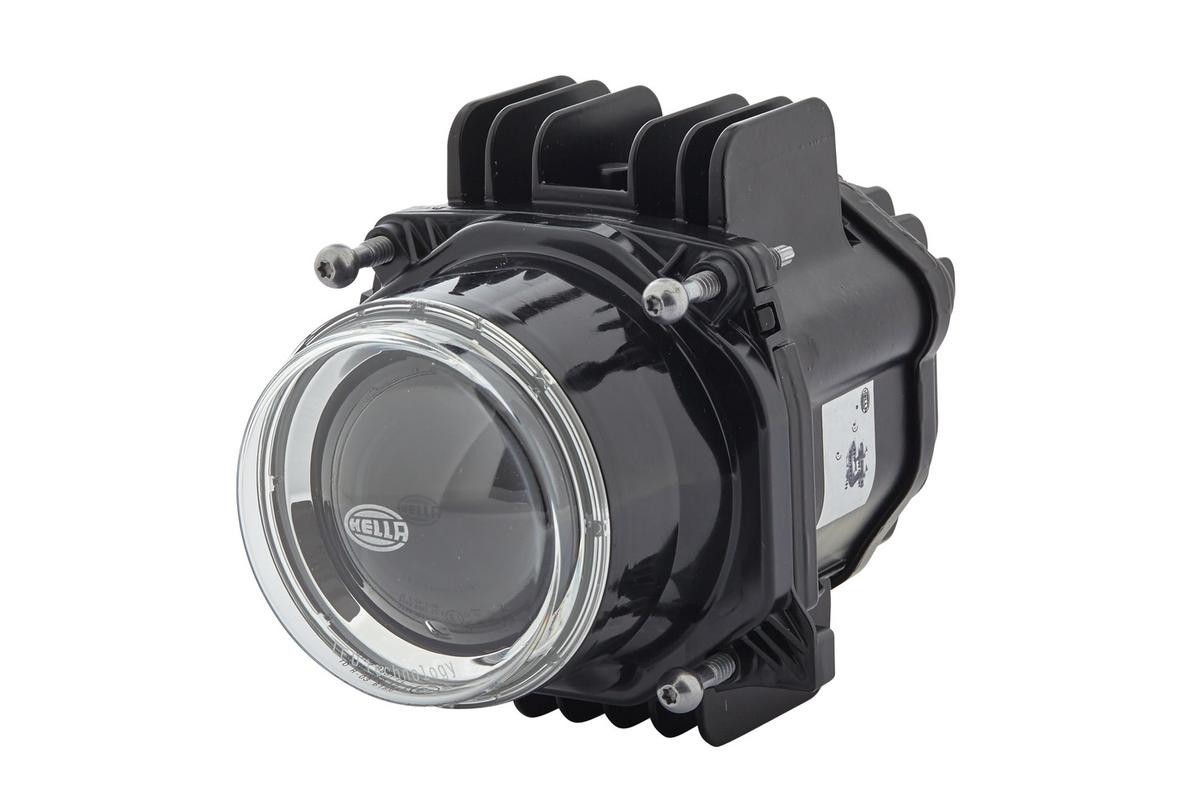 HELLA 90 mm LED Modul Headlight
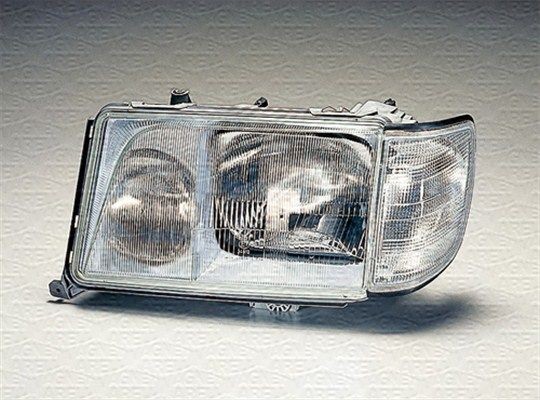 MAGNETI MARELLI LPF031 Headlight
 HELLA 90 mm Classic Insert, spotlight
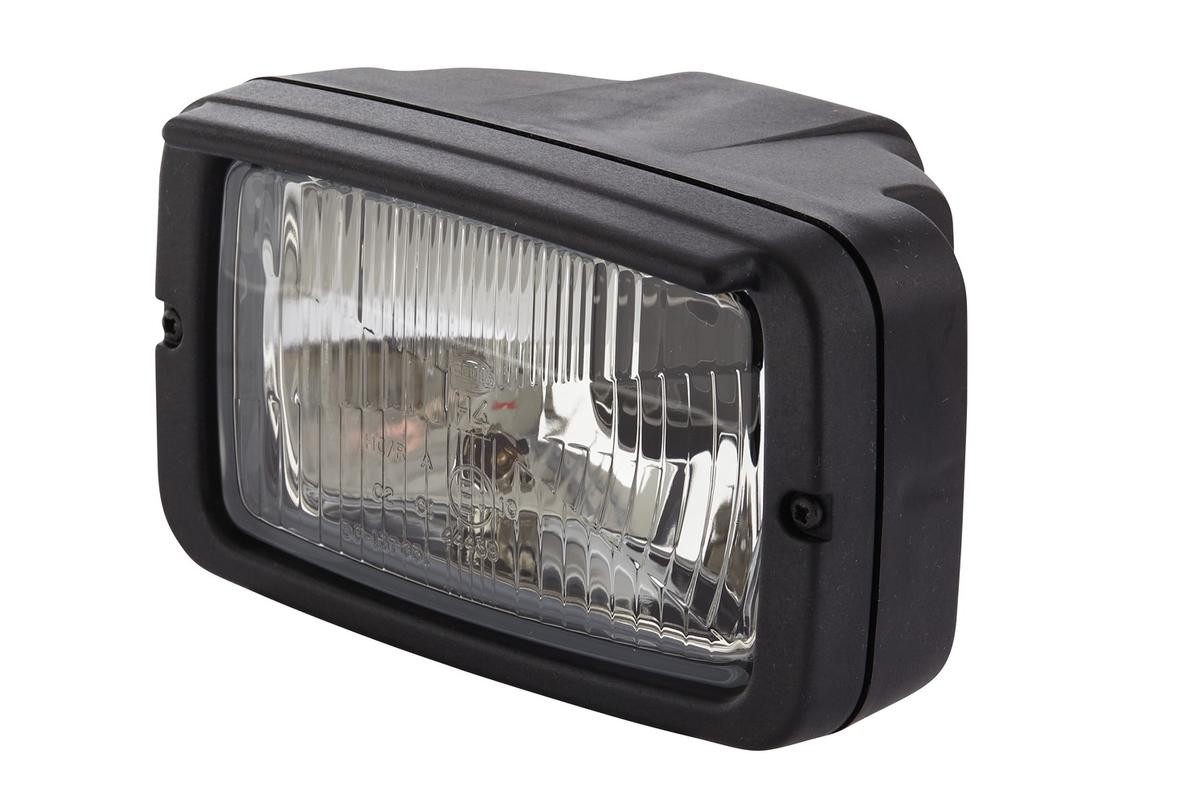 HELLA 7145 Headlight
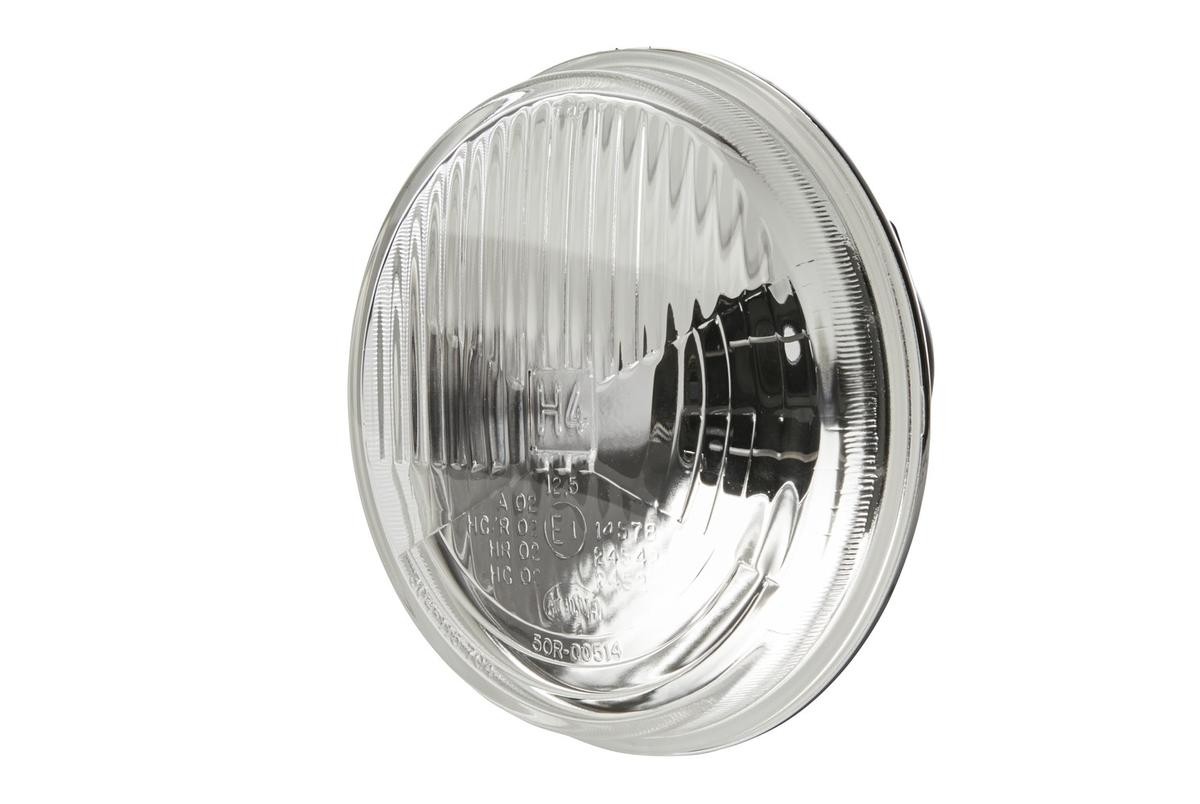 HELLA 012107 Insert, headlight
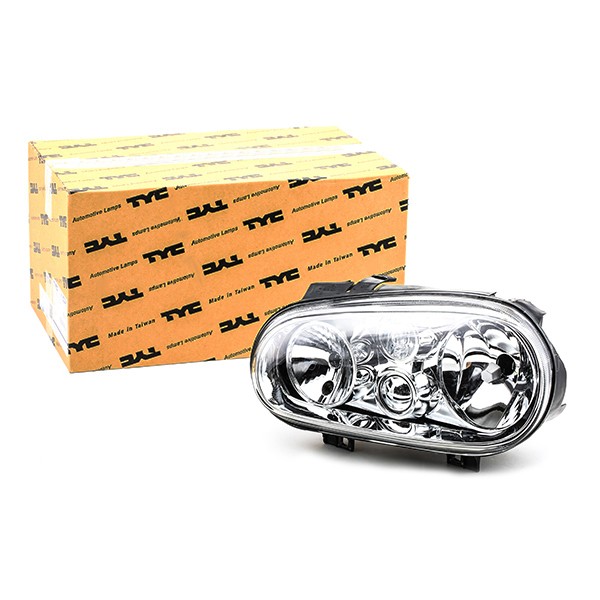 TYC 20-5386-18-2 Headlight
 HELLA 012212 Headlight
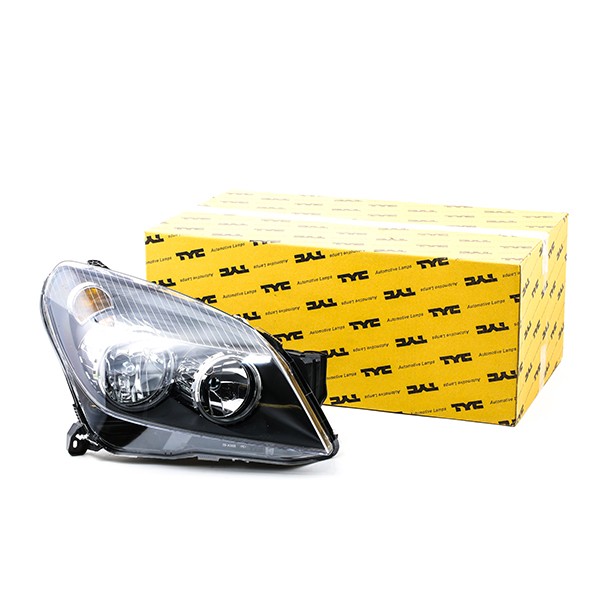 TYC 20-0389-05-2 Headlight
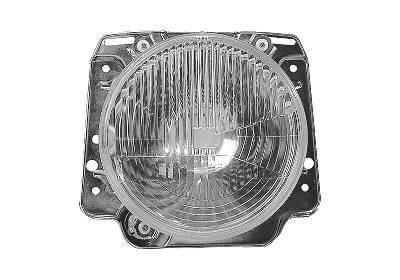 VAN WEZEL 5812949 Headlight
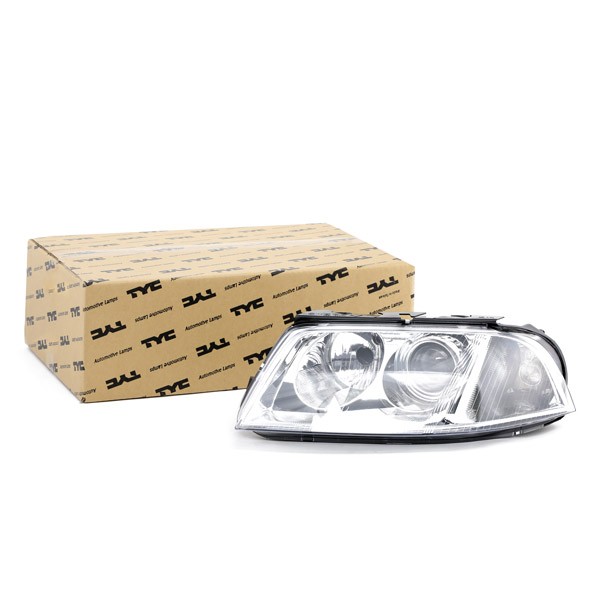 TYC 20-6244-05-2 Headlight
Replacement of Headlights: Video repair guide
How to change a headlight on AUDI A6 C5 TUTORIAL | AUTODOC Top brands that produce springs headlight: BOSCH, STARK, SACHS, SKF, VAN WEZEL, VALEO, LuK...
Step by Step Video Tutorial for Do-it-yourself Auto Repair. Become an amateur mechanic with Autodoc.
| The bestselling products: | |||||
|---|---|---|---|---|---|
| 5812949 | 1A3 002 850-001 | 1A6 002 395-031 | 1A6 002 395-071 | 1AB 003 177-071 | 1A3 002 850-031 |
| From popular manufacturers: | |||||
| TYC | ABAKUS | HELLA | VALEO | VAN WEZEL | DIEDERICHS |
| For popular car brands: | |||||
| VW | MERCEDES-BENZ | BMW | AUDI | OPEL | FORD |
| Headlights – technical details | |||||
| Lamp Type | Supplementary Article / Supplementary Info Info 2 | Light Function | |||
| H4 | H1/H1 | Housing with black interior | without motor for headlamp levelling | with position light | with daytime running light |
| H1 | W21/5W | with motor for headlamp levelling | without direction indicator | with indicator | without front fog light |
| H7 | HB3 | without bulbs | with bulbs | with low beam | with high beam |
FAQ
The exact procedure is specified in your car owner’s manual. Common steps for replacement are the following:
- Switch off the engine and wait for it to cool down.
- Open the bonnet.
- Disconnect the negative battery terminal.
- Access the backside of the headlight cluster. For this, you may need to remove the air filter housing, engine control unit, battery, expansion tank, etc.
- Disconnect the power supply connector.
- Remove the protective element by pressing it in and turning counterclockwise. Sometimes it is enough to pry it with a screwdriver.
- Release the bulb retainer that holds the part in the reflector.
- Remember the position of contacts on the bulb base and disconnect them.
- Remove the burnt component.
- Connect contacts to a new part following the position of contacts you remembered, and install the bulb.
Please note! You should use gloves when installing the part. Fingerprints on the bulb glass reduce the lifespan of the component significantly.
This procedure depends on a car make and model. The common algorithm includes the following steps:
- Turn off the engine and let it cool down.
- Open the bonnet.
- Remove the negative terminal from the car battery.
- Remove the parts that obstruct access to the components: the ECU, expansion tank, air filter housing, battery, etc.
- Disconnect all the contacts including those of the headlamp levelling system if it’s available in your car.
- Unscrew the fasteners securing the part to the car body.
- Remove the radiator grille if necessary.
- Remove the old part and install a new one.
- Ressemble the unit in the reverse order.
- Adjust the light beams.
Adjust your headlights in the dark, when the light beam is clearly visible. Follow these steps:
- Top up the fuel, unload the luggage compartment, make sure the suspension is in good condition, adjust the tyre air pressure, and clean the headlights with a soft cloth.
- Place your car on even ground as close to the wall as possible. Mark the vehicle centre line on the wall using a piece of chalk, coloured tape, or duct tape. Be guided by the car body centre.
- Back up for a few metres from the wall and measure two distances: from the ground to the centre of the lens and from the centre of the lens to the vehicle centre line.
- Mark the centres of the lamps on the wall and draw two vertical lines through them (one for each centre). Connect vertical lines with the horizontal one.
- Draw another horizontal line 50 mm below the main one.
- Turn on the low beam.
- Adjust the lenses so that the DRL light spot does not extend beyond the lower horizontal line on the wall. At the same time, the low beam from the centre point of the headlamps should be angled upwards. Slowly rotate the adjustment screws in the back of the headlight or use the button in the car interior to adjust the components.
If your vehicle has separate bulbs for low and high beams, you should adjust them individually. In this case, the light spot of the high beam should be on the centre marking. Headlights equipped with a hydraulic adjuster can be adjusted by the driver in the car interior without passengers.
-
Safe Order 200 days
-
Free Shipping
-
А convenient app for buying car parts
-
Car repair videos
